Sunday, June 10, 2012

Personalized Post-it Note Holder

It is that time of year with school ending and with 3 of my children in elementary school and 1 in preschool, I like to give the teachers, assistants, bus driver, office workers a little something as a thank you for the great year with my children. 
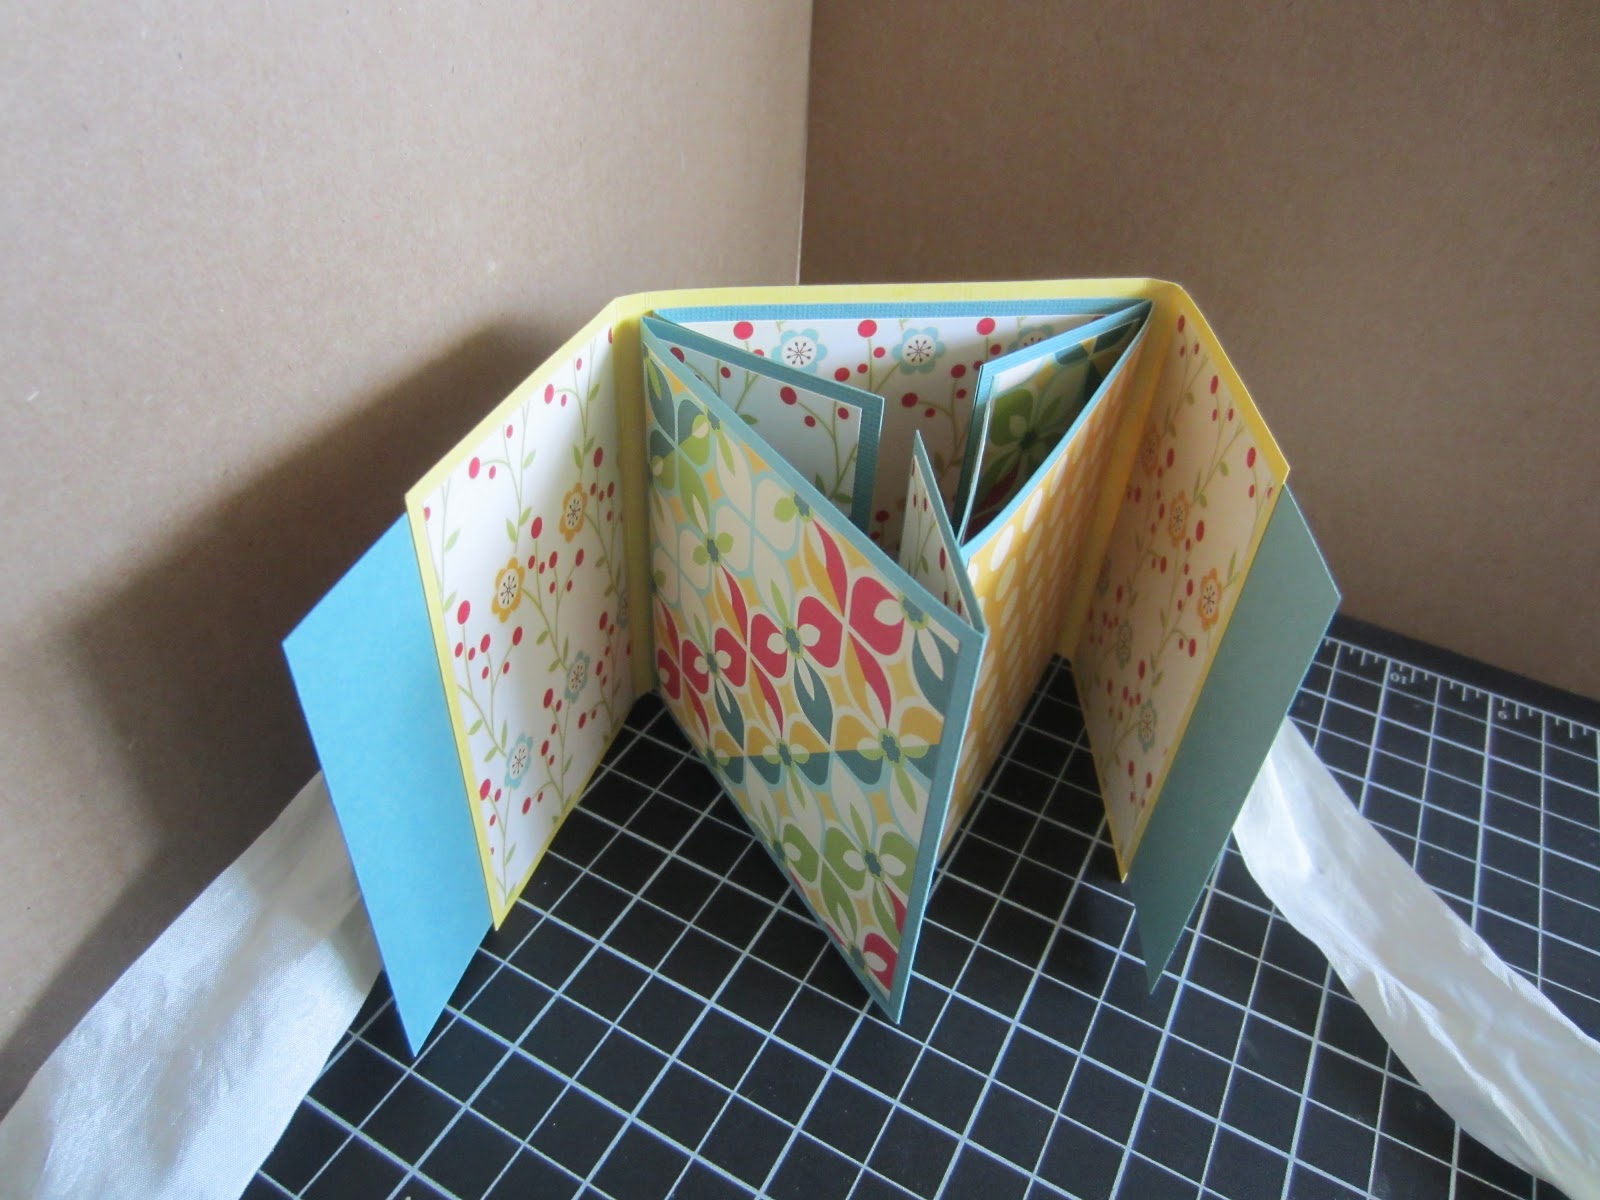
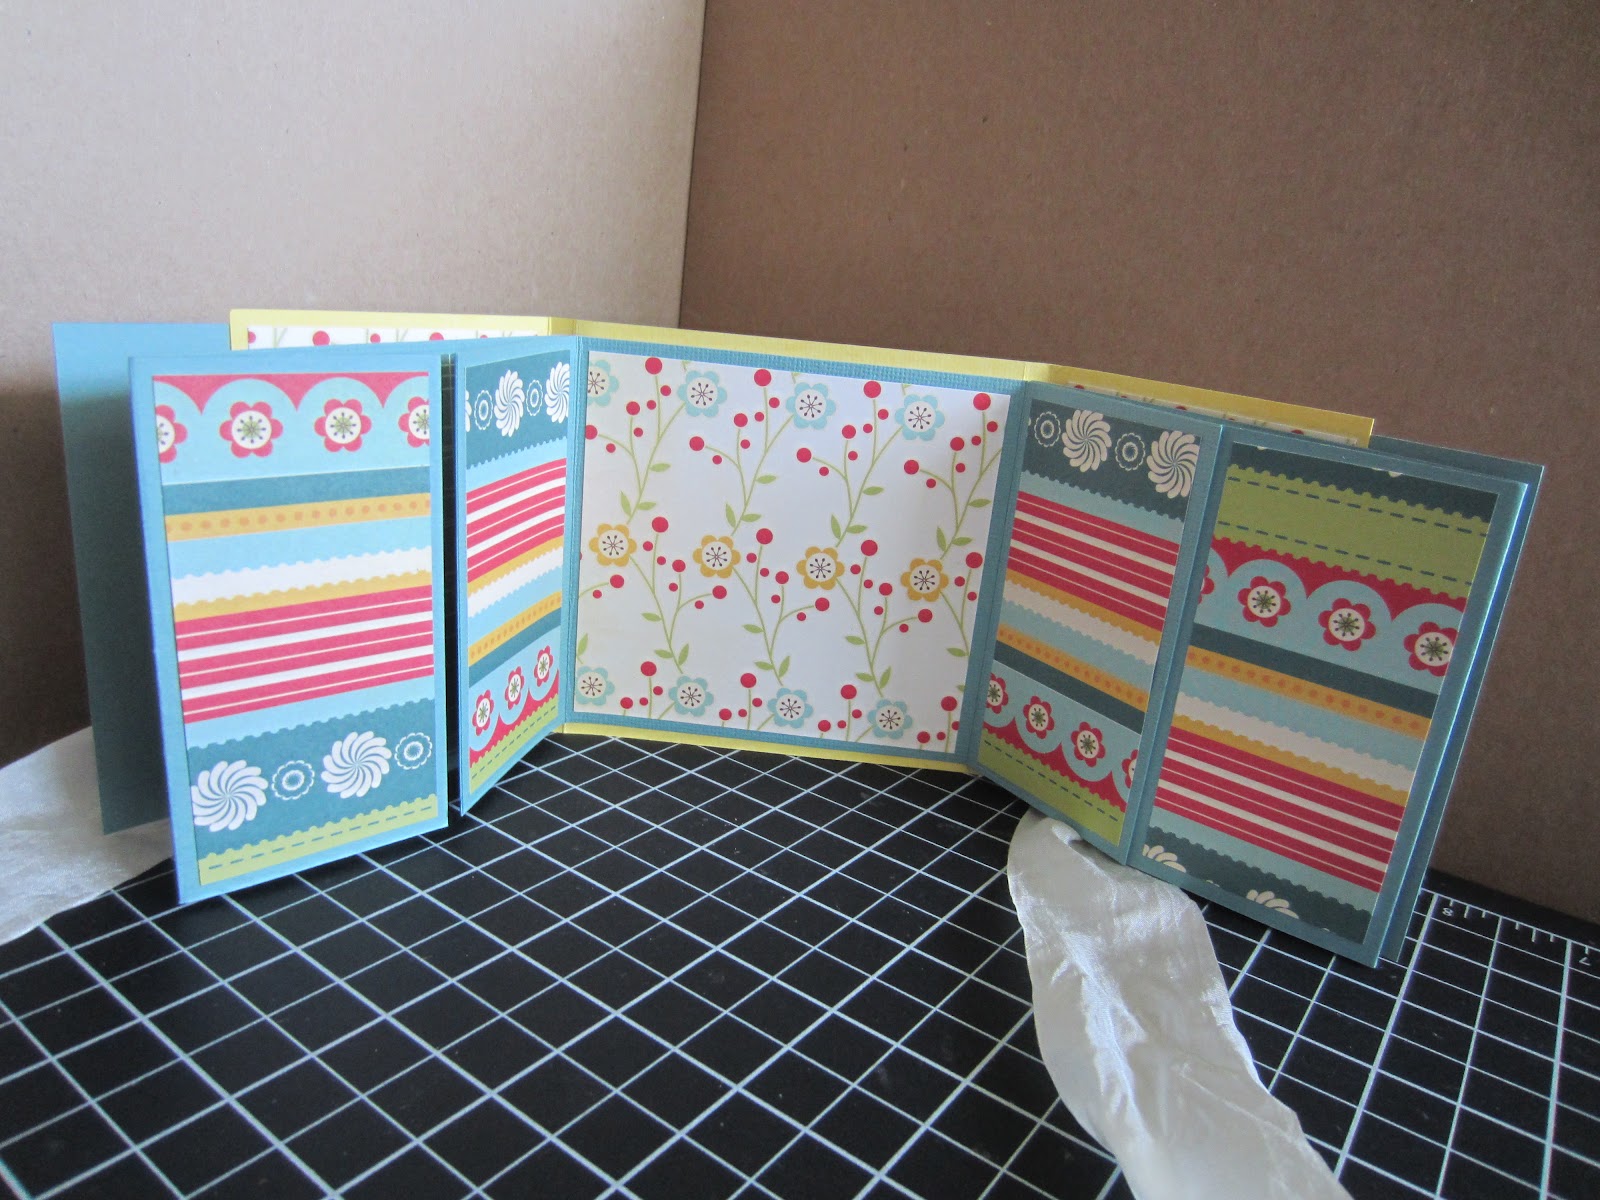
This year, I decided to make these darling post-it note holders and personalize them. They are so simple to make and take almost no time putting together. Here is how to make these darling gifts.


Cut a piece of 8 ½” x 3 3/8” piece of solid cardstock - score at 4 ¼”.

Pull out that crimper you haven’t used in a while that has been sitting in the back of your drawer and crimp the scored end about 3-4 turns.

For the personalized part, punch out a scalloped circle in white, punch out a 1 3/8” circle of coordinating cardstock, and punch out a 1 ¼” circle of white.

Ink up your stamp and stamp your letter on the small white circle.

Adhere the circles together with adhesive and place pop dots under the colored cardstock between the circles and the scallop circle to add dimension.

On the scalloped circle, I used a needle or paper piercer to pierce holes in each of the scallops for a little more added interest. Adhere the scalloped circle on to the front of the holder in the corner.

Separate your post-it notes into ¼ to 1/3 of a stack and place inside the holder.

On the crimped side of the holder, use 10”-12” of ribbon and tie a knot. Trim off the ends.

You are finished!! Now that wasn't too hard was it??

Tuesday, June 5, 2012

Tri-fold Flip Flop Mini Album


I made these pretty little albums for the children's teachers this year. The largest one is a 6x6 and the smaller one is 4x4. I put the school year on both so the teacher's could put their little students pictures in them. Luckily for the smaller one, I had the class pictures to put into them. I had helped punch out pictures several times this year. Under each picture, I put the child's first name. For the larger one, I didn't have any pictures but I put a note to the teacher with what to do. I also told her if she didn't have the pictures, she could use it how ever she wished. They both loved them!! I am so glad too!


Thursday, May 24, 2012

Mother's Day Gifts

This year for Mother's Day, I was really, REALLY, behind in getting something for my mom and grandmother for Mother's Day. So, the night before the special day, I sat down and thought. And thought. And thought. What could I make for them? I saw these small plaque things on my desk, yes they have been sitting there for a while, that I bought after summer last year for $.10! A great deal but what could I do with them? I decided to cover them with this beautiful patterned paper from Stampin' Up! that I got for free during Sale-A-Bration. Now what? I really wanted them to have a corsage of sorts, so why not make one? So, punched out several flowers, squished them, spritzed them, and set them to dry. I used some antique brads for the center. Coordinating ribbon which includes the wide ribbon from May Arts, some die cut butterflies, a crystal clear stick/hat pin for my mom and pearls for my dear grandmother. They just loved them and wore the "corsages" on their special day. After the day was over, they could Velcro the "corsages" back to the plaque and enjoy all throughout the year. My grandmother who has Alzheimer's just loved it and my mom couldn't believe I made it. And once I put my mind to it, it didn't take me long to make them both either. :)


Thursday, December 22, 2011

Buckeyes

Or other wise known and Peanut Butter Balls. These are hubby's favorite and I couldn't resist making some for him. He will have to eat these in moderation of course because of his diabetes, but I know he will love them. I even used "his" peanut better that comes from the organic food store. It was a little more difficult to roll them because it didn't have all the added oils that is found in store produced peanut butter, so I just made sure I was really careful when I dipped them into the chocolate. YUMMY!!!

Wednesday, December 21, 2011

Isn't this the most beautiful sight?

While I was at my mom's, I went to the local nursery and bought one of these beauties. Where I live, I haven't found a local nursery that is even remotely like this one. And I live in a BIG city compared to where mom lives. And this size was only $4.99!!! I loved the sea of red with a little mix of white and pink. I couldn't help taking a picture of it. So Christmas-y don't cha think????

Tuesday, December 20, 2011

Christmas Cookie/Sweets

Saturday afternoon, I traveled to my mom's to make Christmas sweets. Such a yummy project! I ended up staying Sunday night and traveling home Monday morning at 6AM to be back home in time for hubby to go to work. We made my 3 batches of my grandmother's famous Nut Cake, one batch of Chinese chews, and 3 batches of fudge. We also had lunch at IHop, did some shopping, checked out some scrap book goodies she had bought online, and just had some wonderful girl time. I have needed a break from the kids and this was a perfect opportunity! Don't get me wrong, I love being with my kids, but the constant bickering and fighting gets the best of the SAHM who has her children since school got out December 2nd, and 24/7. I loved ever minute of it and wouldn't change a thing, except just a little more time so I could help her wrap some of her Christmas gifts. Check out the last one. It is a piece of May Arts Ribbon we used because the oven was a little full and wouldn't stay shut. We fixed that!! LOL


Monday, December 19, 2011

May Arts Burlap Challenge

Back on November 1st, May Arts posted a challenge using their burlap ribbon/string. Only 25 participants were allowed to enter. I was one of the lucky ones able to participate. I received my ribbon and it sat on my table for a little while. I knew what I wanted to do, but I had teacher gifts and student gifts to make before I could give my full attention to the MA project. The project was due on Monday, December 12th, so I knew I had a little while to complete it without stress. Well, I was finally able to create my project and I really like the simplicity of it. I started with an 8x10 canvas and placed my LOVE first in the middle. I should have moved it a little to the right to make it smack dab in the middle, but this is a handcrafted project so I was okay with it. I did the PEACE next. I couldn't get the glue just right on the canvas and kept wiping it away, but finally I got it the way I wanted it. Next was the JOY. Earlier, I had cut a strip of the string, it was a natural color first, and placed it in a baggie with some of SU's real red re-inker. I took it out and let it dry overnight. I think I should have heat set it before I used it because once I put it in the glue, it started smearing. So I was very careful in how I placed the burlap. It was so much fun and I really like that it is just simple words that mean so much at this time of year. I hope you enjoy it as much as I do. Thanks to May Arts for allowing me to play once again. If you go to this link, you can comment on any of the amazing projects and possibly win some of their beautiful ribbon. I just love May Arts and hopefully I can participate again in their next challenge.